Electric Vehicle v1
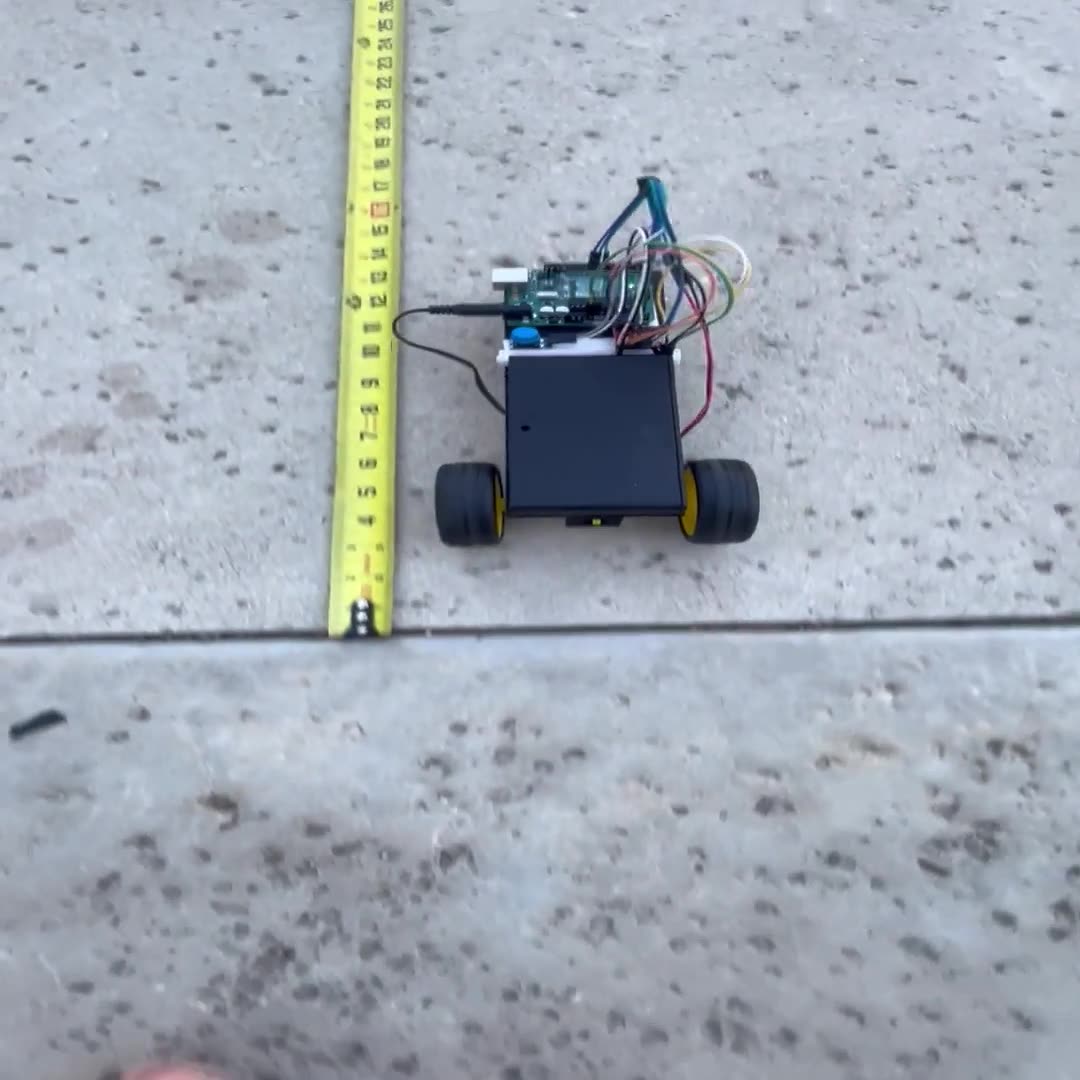
The first running electric vehicle prototype, captured in a short demo clip.
01 The problem
For Science Olympiad, I was challenged to design and build a battery-powered vehicle capable of traveling a fixed distance of 8–10 meters within a target time of 10–20 seconds. The vehicle was limited to a maximum of eight AA batteries, requiring careful consideration of power, gearing, speed control, and consistency to achieve accurate performance.
02 Why I built it
I built this project as a fun challenge to test my engineering skills and see what I could create under a set of constraints. It gave me the chance to combine CAD, electronics, and programming while representing my school at the Science Olympiad regional competition.
03 Tools, materials & software
| Microcontroller | Arduino Uno |
|---|---|
| Drive | TT gear motors |
| Structure | Basic rectangular frame with a bracket to hold the motor |
| Motor driver | TB6612FNG dual motor driver |
| Power | 8 AA batteries |
| Software | Arduino IDE with C++ |
04 Prototype photos
The first electric vehicle build. Tap the photo to view it larger.
05 Testing process
Testing was a major part of the project. I spent several hours checking the wiring, running test drives, and measuring performance outdoors. Using a measuring tape and stopwatch, I compared the actual distance and travel time to my target values, then adjusted the code after each run to improve accuracy and consistency.
06 Challenges & failures
The hardest part was getting the distance right. I set the run time in the code, so the timing was always accurate, but the distance the car covered in that time kept changing. The cheap motors were not always consistent, and as the batteries drained the speed dropped, so the same run time could travel a different distance.
07 What I changed after testing
After each round of testing, I adjusted the code and fine-tuned the vehicle based on the results. These small changes helped improve consistency and made it easier to hit the target distance and timing more reliably.
08 Final result
The final vehicle performed well and was able to complete the challenge successfully. Although there are still areas that could be improved, the project achieved its main objectives and taught me a lot about testing, troubleshooting, and refining a design through multiple iterations.
09 What I'd improve next
This project led directly into a second version of the vehicle. Based on what I learned during testing, I upgraded the design to use higher-quality motors and hall effect encoders for more accurate distance tracking. These changes were aimed at improving consistency, reliability, and overall performance.
10 Demo video
Short on-the-bench demo. Audio is muted by design.
Watch full build on YouTube